The official season end date is June 30. You cannot activate your club for the next season until after June 30.
Every year, all cross country ski clubs in Canada must activate themselves with their Division via their Zone4 account. All of the annual information you need to submit to your division is done electronically through the following process.
To get started, go to https://zone4.ca and click the Admin Sign In link in the top right corner:

On the sign in page, enter your email address and your Zone4 password. If you don’t remember your password, try clicking the Send a Sign-in Link to your Email option at the bottom of the screen to sign in without a password.
If you see an Admin Home link instead of Admin Sign In, it means you’re already signed in and you can go directly the the admin site without having to enter your password again.
After you have signed in to Zone4.ca, find your club name in the Managing tab on your home page:

Clicking your club name will take you to the club’s overview page. On the overview, click the “Nordiq Canada Affiliation” button:
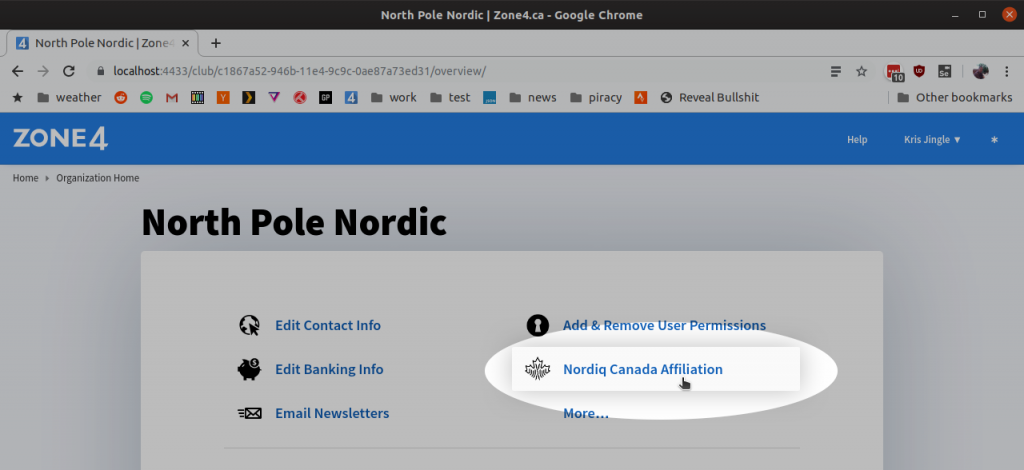
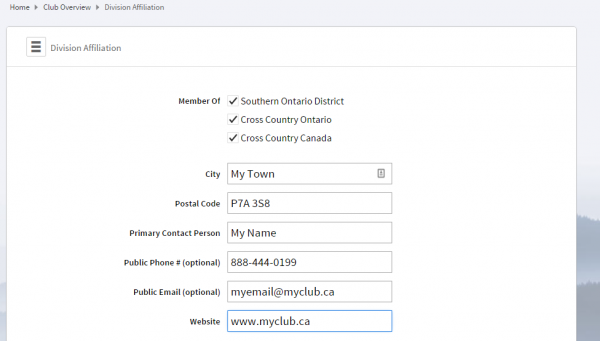
This will take you to a form to fill out all the information about your club that Nordiq Canada and your division require. Work your way through the following sections to update and fill out as needed.
Club Executive
Update your club’s executive positions whenever they change, not just at the beginning of the year. This will help divisions contact the correct person for various communications throughout the year. This section prefills each year so all you have to do is edit it as needed.

Other Insured Parties
Additional insured parties can be added in this next division reporting section. Add and Remove records as needed and they will be included by the Division office and Nordiq Canada. Note if you need to edit an existing entry, remove it using the ‘Delete’ button and add them in again using the ‘Add to Insurance’ button.

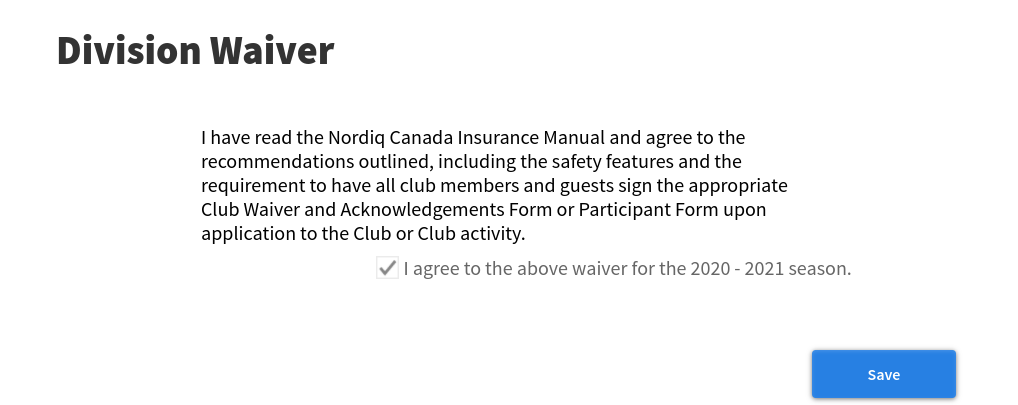
Division Waiver
The final step is to sign the waiver and click the save button. That completes your club activation for the year and you are now an active and insured club with Nordiq Canada for the year. You can now proceed to create your membership registration by creating a copy of your registration form from last year.